How To Replace Ray-Ban Replacement Lenses, from easy replacements, to more complex repairs.
Here is your one stop shop on how to get your Ray-Ban sunglasses looking as good as new. We hope you gain a little bit more insight and experience into the ins and outs of the shades you wear.
We typically offer three options when replace the lenses in your frame. They are as follows; fit the lenses yourself, take them into a local opticians, utilise our fitting service.
How To Replace Ray-Ban Replacement Lenses With SunglassesUK.com will break each one of the choices down, giving you a better understanding the options available.
FIT THE LENSES YOURSELF
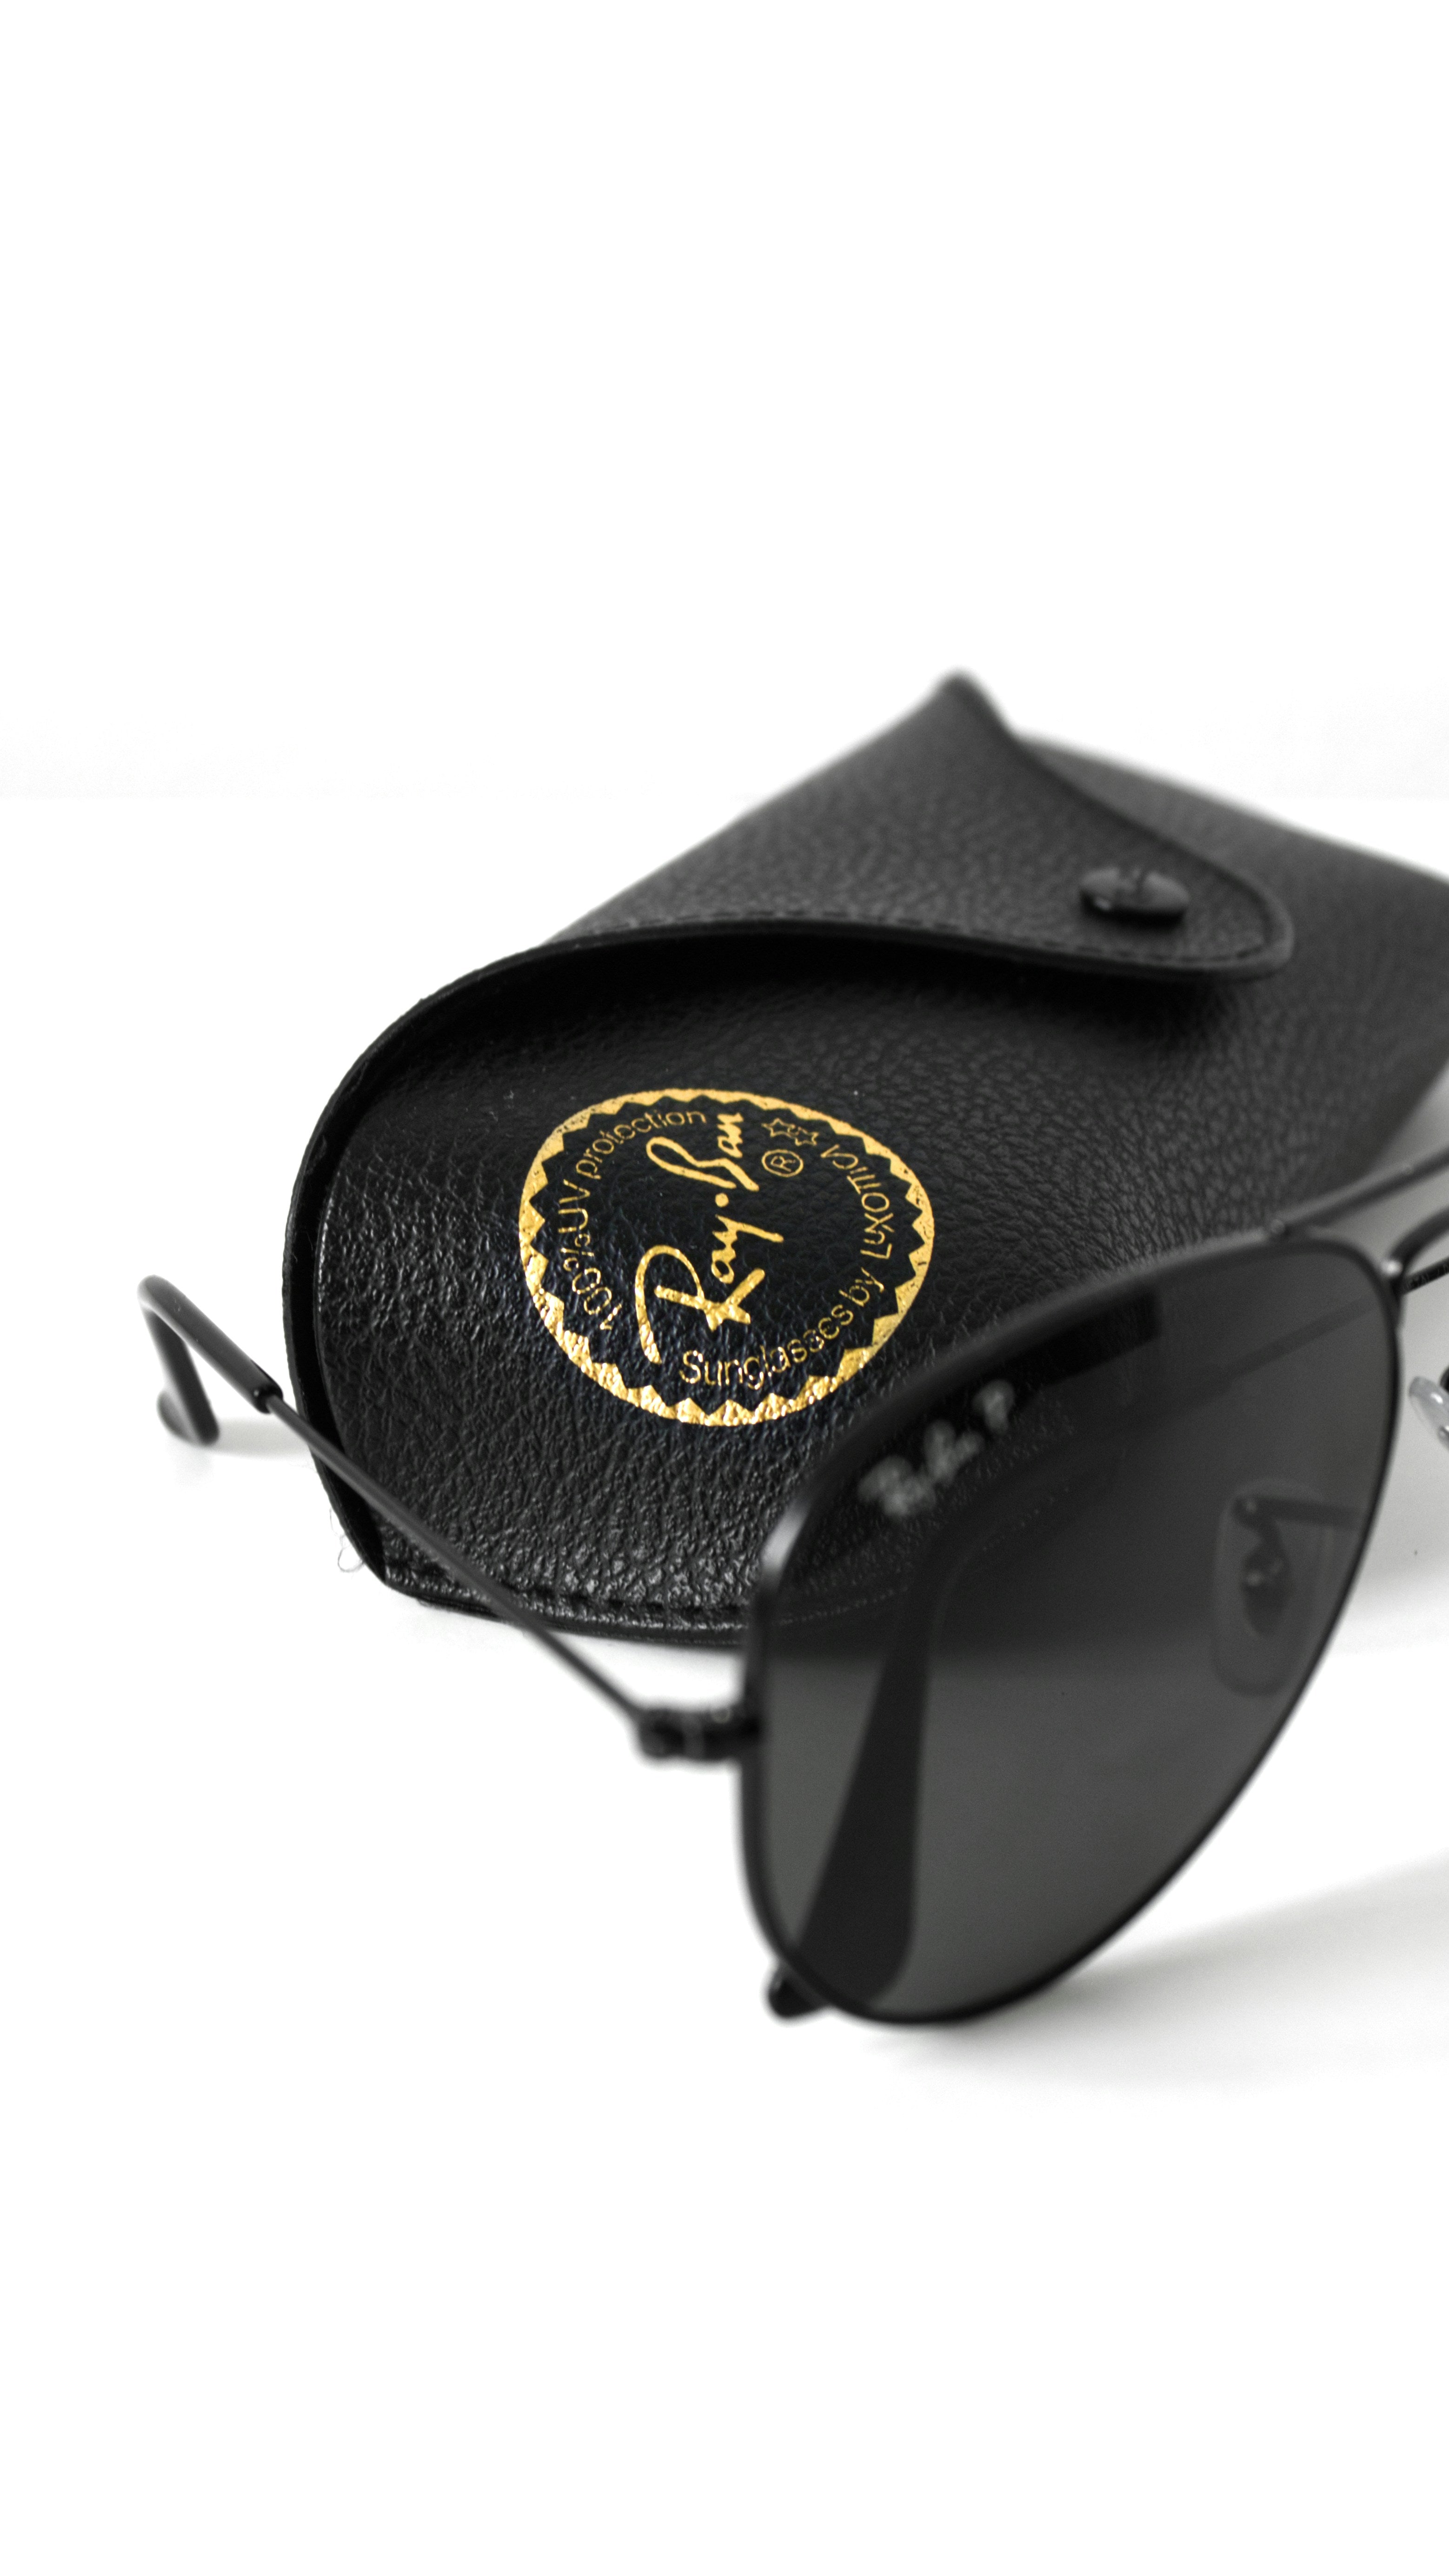
We begin with the most simple straight forward approach. Fitting the lenses yourself, this can be relatively easy, this depends on which frame you have. Frames come in all shapes and sizes, as well as materials, joints, and connections. Here is your typical frame materials, with types of screws to connect the frame:
Materials: Plastic Acetate, Metal & Plastic Acetate, Full Metal
Screws: Philips Head Screw, Flat Slot Screw, Full Bearing Screw
Plastic acetate frames are the easiest lenses to fit. If you are able to get the lenses out of the frame, you will be able to get them the new pair back in with ease. Some of the more bolder, bulkier sunglasses may require the frame to be heated up. If you are struggling to get the lens out, it may be an idea to seek help of a optician, or of course, SunglassesUK.com.
- Use your thumb, from the inside out, to remove the lens
- Use the bottom rim to help pry the lens out
- Once removed, clean the inside of the lens of any dirt
- Place top of the lens in first
- Squeeze the lens in, using a reverse technique with bottom rim seen in step 2

Metal & Plastic Acetate, with metal being the material on the front frame, will require tools to exchange old and new lenses. A Micro Screwdriver Set will do the job. Ray-Ban also utilise Flat Slot Screws, you will require Micro Slow Head Screwdriver for this repair.

It’s not uncommon for Ray-Ban Aviator style frames to have two screws, one for the lens, the other holding the arm in place. The majority of other frames have one screw, typically on the underside of the frame, which is fairly straight forward.
Both screws will need to be lose to get the lenses in and out of the frame. It is ideal to keep the lenses in the socket, however if they come out, you can place in back in fairly easily.
Within Ray-Ban’s Tech range, and general Rimless to Wrap Around designs, we see a number of octagon shape Full Bearing Screws which attach the lens to the frame. This type of repair will require a very specific tool.
When repairing a frame that requires this screw, it’s extremely important you are very cautious and delicate with the lens. The last thing you want to do is damage your new lenses.
- Un-tighten the screw/screws that are holding the lens in place
- If the screws come out completely, put them somewhere safe
- One out, clean the inside of the rim of any dirt
- Place lens correctly into the front frame
- Place the screw into the socket, tighten firmly (Tight enough to secure the lens, be careful not to crack the lens)
LOCAL OPTICIANS
Secondly we have your Local Opticians. If you receive a set of lenses without utilising a fitting service, and you’re having difficulty removing the lens from the frame, a local optician may be of some help.
We would highly recommend a small independent store, over a high street opticians. It’s also better to support local business, and I’m sure they will be more than willing to help.
UTILISE OUR FITTING SERVICE
Finally, our Sunglasses Repair Service includes shipping to and from us, with a full repair, spare parts (including nose pads & ear socks), and frame service included in the price.
You can add the fitting service to your order when entering your frame details.
We hope this has been of some help, and of course, if you require an further assistance, please feel free to get in touch.